How to Expand Steam Deck Storage with an SD Card: The Ultimate Guide for Game & Desktop Mode

Running out of space on your Steam Deck? You’re not alone. Between AAA titles and system updates, even the 512 GB model can fill up quickly. Thankfully, expanding your Deck’s storage is simple, all you need is a good SD card.
Game Mode: Formatting Your SD Card
Getting your SD card ready for games is the first and most important step. For more information on the types of SD Cards available, watch the video below:
The Easy Way: The Format Prompt
When you first insert a new SD card into your Steam Deck while in Game Mode, you should see a prompt at the bottom of the screen asking you to format it.
💾 Simply click Format, and SteamOS will handle the rest. Once it's done, you can start installing games to it right away.
If You Missed the Prompt
Didn't get the prompt or accidentally dismissed it? No problem. You can easily format the card manually.
-
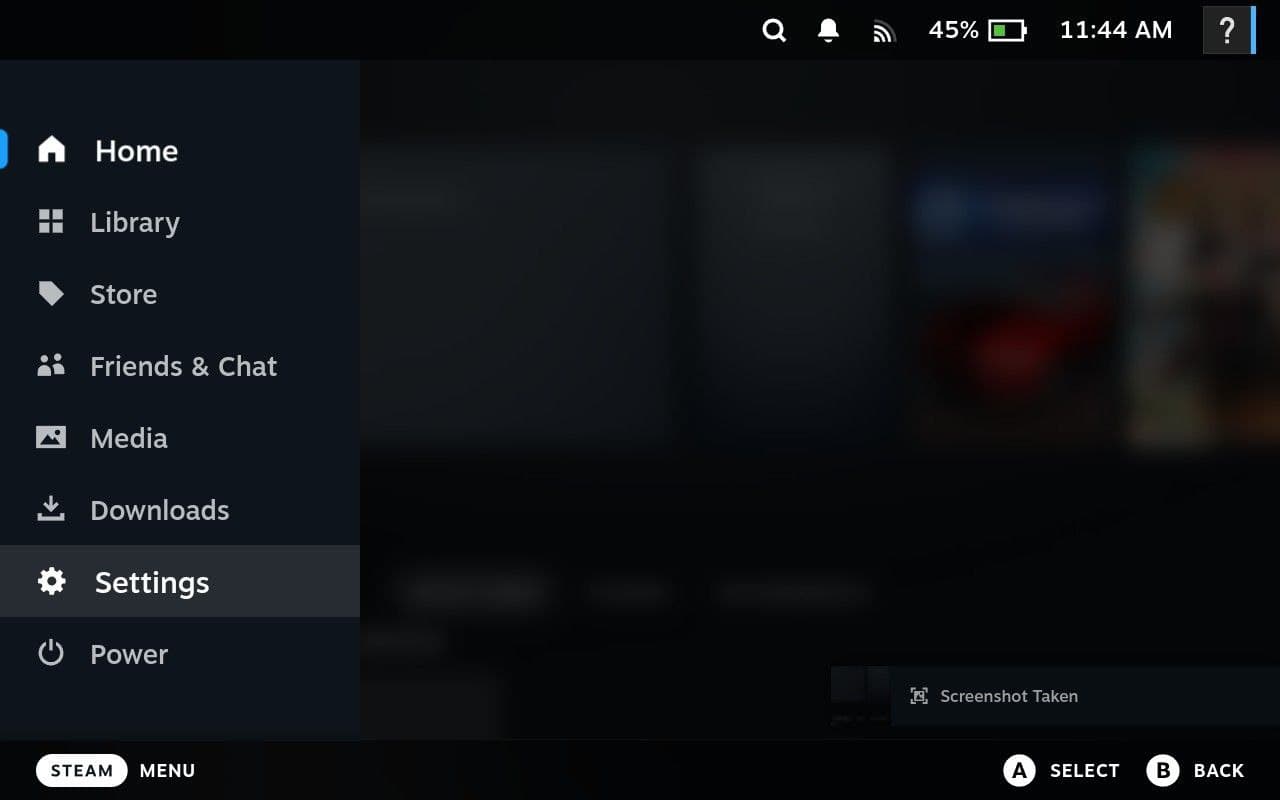
With your SD card inserted, press the STEAM button to open the main menu.
-
Navigate down and select Settings.
-
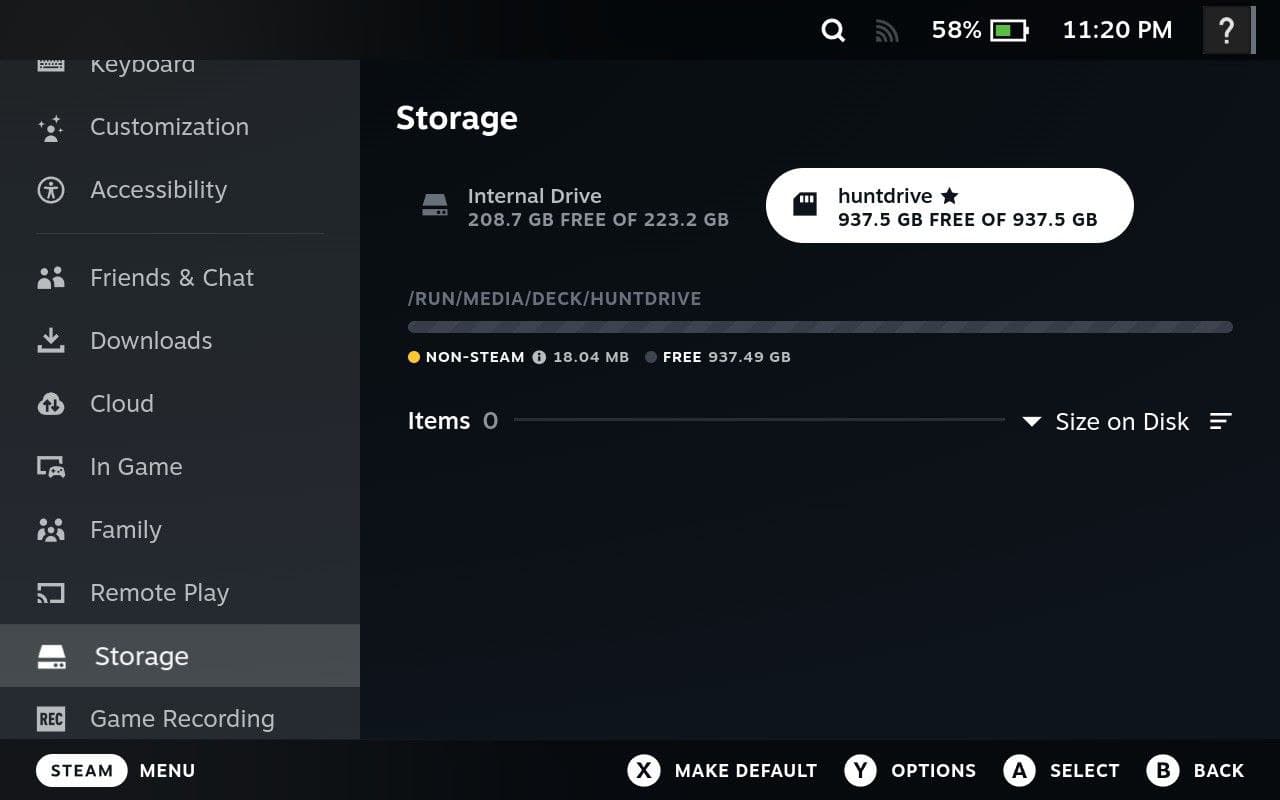
In the Settings menu, go to the Storage tab.
-
You will see your Internal Drive and the microSD Card listed. Select the microSD Card.
-
You'll see an option to Format. Select it to begin the process.
 During the format process, you will be given the opportunity to rename the drive. It's a good idea to give it a simple, memorable name (e.g.,
 SDCard,Lexar,MyDeckSD).
This name is important! You will need to know it for the steps in Desktop Mode later in this guide.
That’s all you need to start using it for Game Mode. Your games will install and load almost as fast as if they were on the internal SSD.
Desktop Mode : Moving Apps and Files to the SD Card
The real challenge begins in Desktop Mode, where you can unlock your Deck’s full Linux power. Here, you can install non-Steam apps, manage files, and truly customize your device.
How to Switch to Desktop Mode
First things first, let's get into Desktop Mode.
-
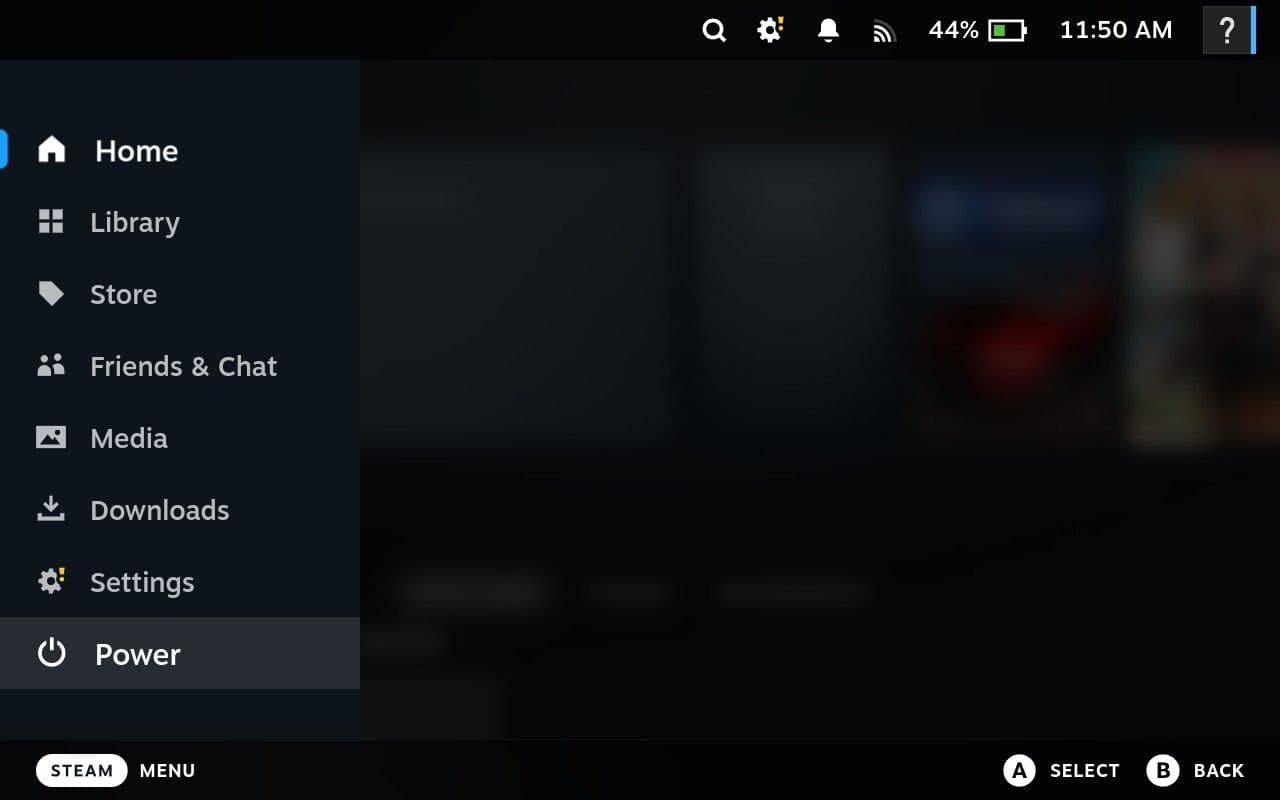
Press the STEAM button to open the main menu.
-
Navigate down and select the Power menu.
-
In the Power menu, select Switch to Desktop.
 Your Steam Deck will restart and load into a standard Linux desktop environment. Once you're there, this guide will walk you through moving your Flatpak apps, Downloads, and Documents folders to the SD card.
A Quick Warning: Understanding SteamOS
Before we start, remember one key concept: SteamOS is an immutable operating system.
This means the core system files are read-only. While you can't easily modify the root filesystem (and any changes you force might be wiped by a system update), your personal data and applications are fair game. The method we're about to use is safe, easily reversible, and won't interfere with system updates.
🧠 Think of it as Valve’s way of keeping the Deck stable, fast, and secure, while still giving you control over your own files.
For a deeper dive into what “immutable” really means, check out this excellent breakdown:
The Strategy: Move and Link
Our plan is simple:
- Move a folder (like your installed apps or documents) from the internal drive to your SD card.
- Link it back to its original location by creating a symbolic link (a "symlink"), this is like a shortcut so no need for manual moving each time.
The operating system will see the symlink and think the folder is still in its original place, but all the data will actually be read from and written to your SD card. It's a safe and effective way to free up precious internal storage.
How to Move Your Files and Apps to the SD Card
Ready? Let's get started.
Step 1: Find Your SD Card's Path
First, you need to know where your SD card is mounted.
- Insert your SD card and open the Dolphin file manager in Desktop Mode.
- Find your SD card in the "Removable Devices" list.
- Click on it, and the path in the address bar will show you its location. It's usually
/run/media/deck/SDCARDNAME. ReplaceSDCARDNAMEin the following commands with the actual name of your SD card, this would be the name you gave it during the format process.
Step 2: Move Your Documents and Downloads Folders
You can use the same technique for your personal folders to ensure all your downloaded files and documents go straight to the SD card.
For the Downloads Folder:
- Move the folder:
bash
mv ~/Downloads /run/media/deck/SDCARDNAME/Downloads - Create the symbolic link:
bash
ln -s /run/media/deck/SDCARDNAME/Downloads ~/Downloads
For the Documents Folder:
- Move the folder:
bash
mv ~/Documents /run/media/deck/SDCARDNAME/Documents - Create the symbolic link:
bash
ln -s /run/media/deck/SDCARDNAME/Documents ~/Documents
Step 3: Move Your Flatpak Applications
Important Warning:
Before proceeding with these steps, ensure ALL Flatpak applications are completely closed. Running these commands while apps are open can lead to data corruption or unexpected behavior.
Most applications you install from the Discover store are Flatpaks. They can take up a lot of space and are perfect candidates for moving.
Flatpak applications store their data in a few key locations:
~/.local/share/flatpak/: This is where the actual binaries, libraries, and core data for user-specific Flatpak applications are stored. This is the primary folder you'll want to move to save significant space.~/.var/app/: This directory contains configuration files, user data, and other runtime information for user-specific Flatpak applications. It's usually very small, so moving it is optional, but you can do so if you want to keep all app-related data on your SD card./var/lib/flatpak/: This is the location for system-wide Flatpak installations, meaning applications available to all users on the device.
For User-Specific Applications:
Prerequisite: Enable Flathub for Your User
Before you can install most applications, you need to enable the Flathub repository for your user account. This is a one-time setup. Open a terminal in Desktop Mode and run the following command:
flatpak remote-add --user --if-not-exists flathub https://dl.flathub.org/repo/flathubThe
--userflag is crucial here. It ensures that Flathub is added for your account only, which is necessary for the following steps to work correctly.
To move your user-installed Flatpak applications (the ones taking up the most space):
- Move the main application data:
bash
mv ~/.local/share/flatpak /run/media/deck/SDCARDNAME/flatpak-user-data - Create the symbolic link:
bash
ln -s /run/media/deck/SDCARDNAME/flatpak-user-data ~/.local/share/flatpak
If you also want to move the configuration data (optional, as it's usually small):
- Move the configuration folder:
bash
mv ~/.var/app /run/media/deck/SDCARDNAME/flatpak-user-config - Create the symbolic link:
bash
ln -s /run/media/deck/SDCARDNAME/flatpak-user-config ~/.var/app
For System-Wide Applications (Advanced):
These are apps available to all users on the device. However, due to the nature of SteamOS, the /var/lib/flatpak directory is not removable. You cannot move this folder, as SteamOS will prevent its deletion, making it impossible to replace with a symbolic link.
This isn't necessarily a bad thing; it provides a clear separation and offers you flexibility:
Example Commands for Installing Flatpaks:
- To install an application on the internal drive (system-wide): Use the standard install command.
bash
flatpak install firefox - To install an application on the SD card (user-specific): Use the
--userflag. This is the recommended approach for most of your apps.bashflatpak install --user firefox
Because you cannot move the system-wide directory, the commands to move and link it have been removed from this guide to prevent errors. Focus on the "User-Specific Applications" method above to manage your storage effectively.
And that's it! You've successfully moved your apps and personal files to the SD card, freeing up valuable space on your internal drive while keeping everything perfectly functional in Desktop Mode. If you ever want to reverse the process, simply delete the symlink and move the folder back to its original location.